Ever wonder why some epoxy floors look flawless while others peel and fail within months? The secret isn't just in the epoxy itself; it's in the prep. Skipping steps or cutting corners here is a recipe for disaster, costing you time, money, and your reputation. Let's dive into the essential steps for proper concrete floor preparation, ensuring a rock-solid foundation for your epoxy coatings.
The All-Important Concrete Inspection
Before you even think about grinding or patching, you need to thoroughly inspect the concrete. Look for existing coatings, cracks, oil stains, or signs of moisture. Moisture is a huge enemy of epoxy! Use a concrete moisture meter to get an accurate reading. Anything above 4-5% is a red flag and needs to be addressed before proceeding. Existing coatings, even if they look good, need to be removed. They can interfere with the new epoxy's adhesion and cause delamination down the road.
Don't underestimate the power of a simple visual inspection. Check for efflorescence, a white, powdery substance that indicates moisture wicking up through the concrete. Also, pay close attention to areas near walls and drains, as these are often prone to moisture issues. If you find oil stains, you'll need to use a degreaser like Simple Green Pro HD or a dedicated concrete degreaser to thoroughly clean the affected areas.
Grinding: The Key to a Mechanical Bond
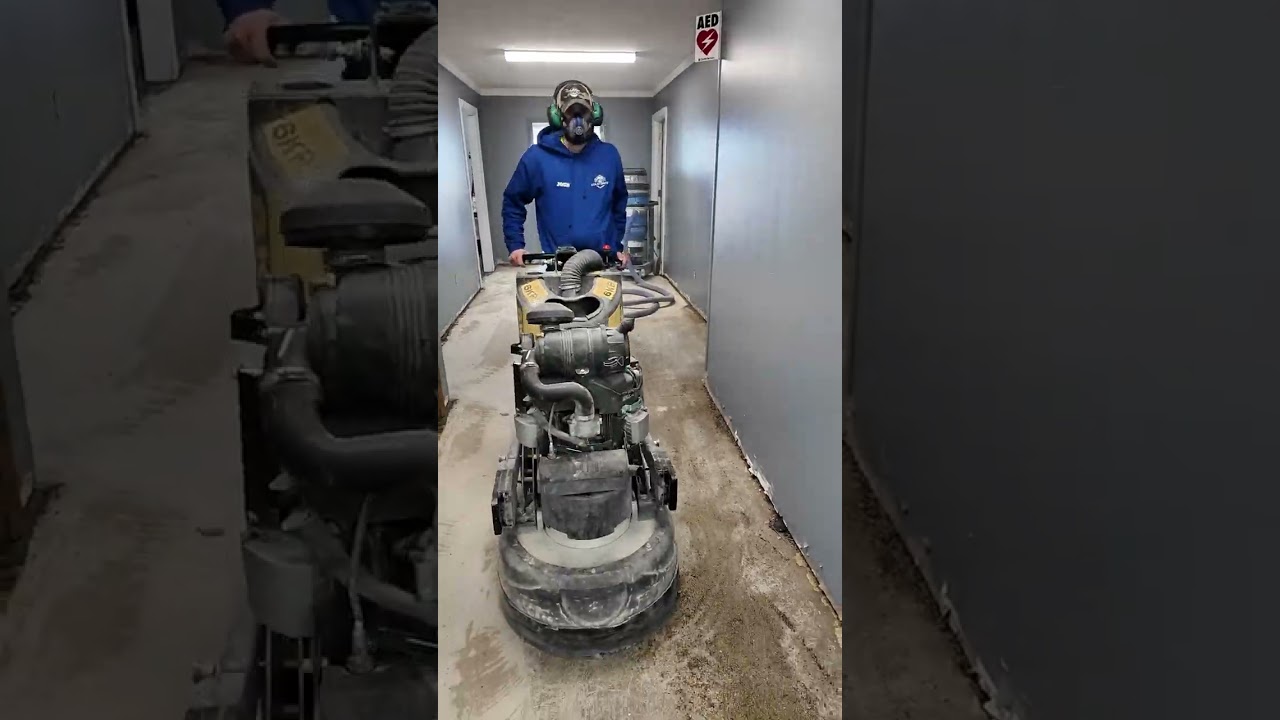
Grinding is arguably the most critical step in epoxy floor preparation. It creates a profile, essentially tiny scratches, on the concrete surface that allows the epoxy to mechanically bond. You'll want to use a concrete grinder with diamond grinding pads. The grit you use depends on the condition of the concrete. Start with a coarser grit, like a 30-grit or 60-grit, to remove any surface contaminants and create the initial profile. Then, move to a finer grit, like an 80-grit or 100-grit, to refine the surface.
Pro Tip: Don't just randomly run the grinder around. Use a systematic approach, overlapping each pass by about 50% to ensure consistent coverage. Vacuum up the dust frequently to keep the surface clean and prevent the grinding pads from clogging. A good dust extractor is a must-have for any serious epoxy contractor. For larger projects, consider investing in a planetary grinder for faster and more even grinding.
Repairing Cracks and Imperfections
Once you've ground the floor, you'll likely uncover cracks and imperfections that need to be addressed. Small hairline cracks can often be filled with a crack filler like Sikaflex Self Leveling Sealant. For larger cracks or spalls, you may need to use a concrete patching compound like Euclid Chemical Dural 452. Follow the manufacturer's instructions carefully, ensuring the repair material is properly mixed and applied.
Pro Tip: When repairing cracks, make sure to widen them slightly with a grinder or chisel before filling. This creates a better key for the repair material and prevents it from popping out later. Allow the repair material to fully cure before proceeding with the epoxy application. This may take several hours or even days, depending on the product and temperature. Always check the product's technical data sheet for specific cure times.
Cleaning and Final Prep
After grinding and repairing, it's time for a thorough cleaning. Vacuum the entire floor meticulously to remove all dust and debris. Then, use a damp mop with a concrete cleaner to remove any remaining residue. Allow the floor to dry completely before applying the epoxy. A clean, dry surface is essential for proper adhesion.
Before you start mixing epoxy, do one last sweep of the area. Remove any tools, equipment, or materials that could potentially contaminate the floor. Mask off any areas you don't want to coat, such as walls or equipment. Double-check your moisture readings one last time to ensure the concrete is dry enough. With proper preparation, you're setting yourself up for a successful and long-lasting epoxy floor.