Tired of polyaspartic topcoats that flash cure, leaving you with a sticky mess and unhappy clients? Applying polyaspartic isn't rocket science, but a few key techniques can be the difference between a professional-looking job and a costly do-over. Let's dive into the proven steps for achieving a flawless finish, every time.
Understanding Polyaspartic's Unique Properties
Polyaspartic coatings are known for their rapid cure times, exceptional durability, and UV resistance, making them a popular choice for garages, patios, and commercial spaces. But that fast cure can also be a curse if you're not prepared. Unlike epoxy, which gives you a longer working window, polyaspartic can start to tack up in minutes, especially in warmer temperatures. This means you need to be organized, efficient, and understand how the product reacts to the environment.
One crucial factor is temperature. Ideal application temperatures for most polyaspartics are between 60°F and 80°F. Above that, the cure time accelerates dramatically. Below that, it can become too viscous to spread easily. Always check the manufacturer's specifications for your specific product. Pro Tip: Use a surface thermometer to accurately gauge the floor temperature, not just the ambient air temperature.
Prep is Paramount: Setting the Stage for Success
Like any coating job, proper surface preparation is non-negotiable. This means thorough cleaning, grinding, and patching any cracks or imperfections. Polyaspartic will only magnify flaws, not hide them. A clean, profiled surface ensures optimal adhesion and a smooth, even finish.
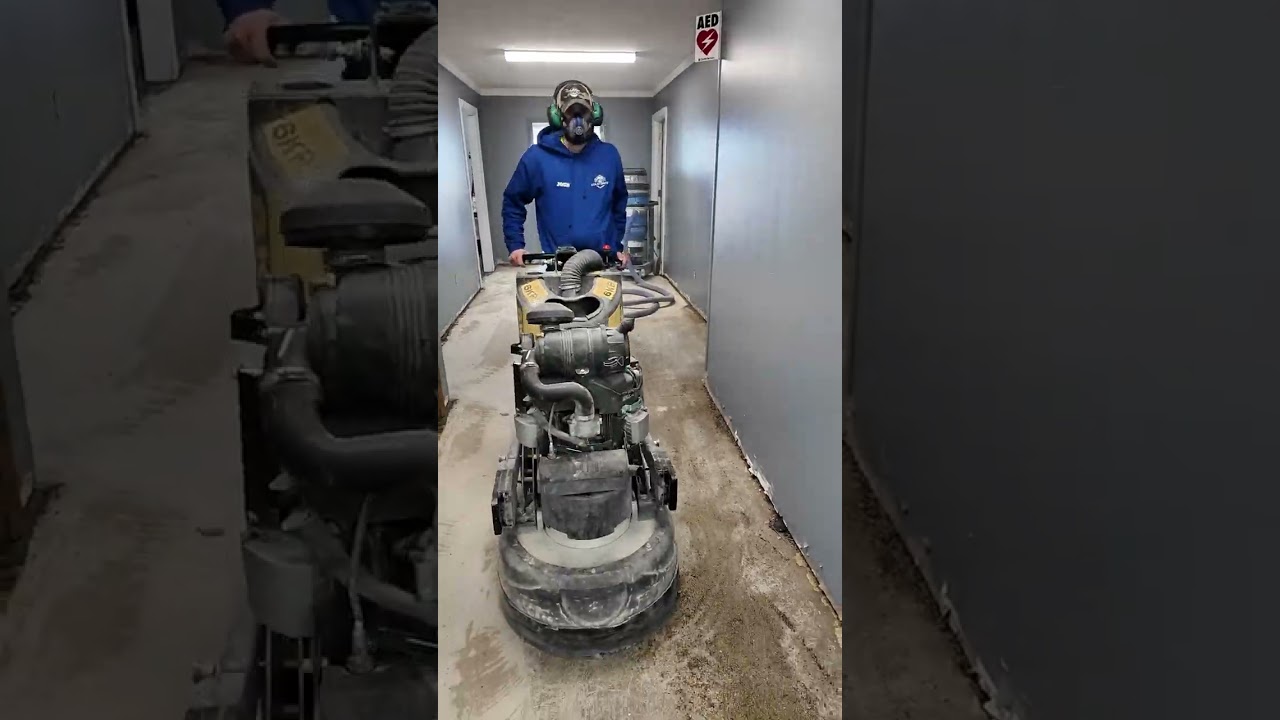
Start by removing any oil, grease, or contaminants. Diamond grinding is essential to open the concrete pores and create a mechanical bond. The grit size will depend on the concrete's hardness and existing coatings, but typically a 30-grit to 80-grit diamond is a good starting point. After grinding, vacuum thoroughly to remove all dust and debris. Pro Tip: Consider using an industrial HEPA vacuum to minimize airborne dust and improve air quality.
Mixing and Application: Speed and Precision
Polyaspartic coatings typically come in two components that need to be mixed thoroughly before application. Follow the manufacturer's instructions precisely regarding mixing ratios and times. Over- or under-mixing can lead to incomplete curing and compromised performance.
Once mixed, pour the polyaspartic onto the floor in a ribbon and spread it evenly using a squeegee or notched trowel. Back-roll immediately with a lint-free roller to eliminate any squeegee lines and ensure a uniform film thickness. Work in manageable sections to prevent the coating from curing before you can back-roll. Pro Tip: Have a helper ready to mix the next batch while you're applying the current one to maintain a continuous workflow.
Tackling Common Challenges and Achieving a Pro Finish
One common issue with polyaspartic is air bubbles. These can be caused by several factors, including excessive mixing, porous concrete, or high humidity. To minimize bubbles, avoid whipping air into the coating during mixing, ensure the concrete is properly sealed, and apply the coating during periods of low humidity. A good quality self-leveling polyaspartic will also help.
Another challenge is overlapping. Because of the rapid cure time, it's crucial to maintain a wet edge to avoid visible seams. Work quickly and methodically, and always overlap each pass slightly. If you notice any imperfections, address them immediately before the coating starts to harden. Remember, a smooth, consistent application is key to a professional-looking polyaspartic topcoat.
Mastering polyaspartic application takes practice, but by understanding its properties, focusing on prep, and applying it with speed and precision, you can consistently deliver stunning, durable floors that impress your clients and boost your bottom line.